
It’s not unusual for a carburetor to stop functioning correctly because it has gummed up causing the fuel jet to become clogged or the float to become stuck.
Old fuel can be the main cause of a carburetor not working. Making sure you’re running fresh clean fuel through your equipment with a low ethanol content to help minimize the negative effects on the carburetor.
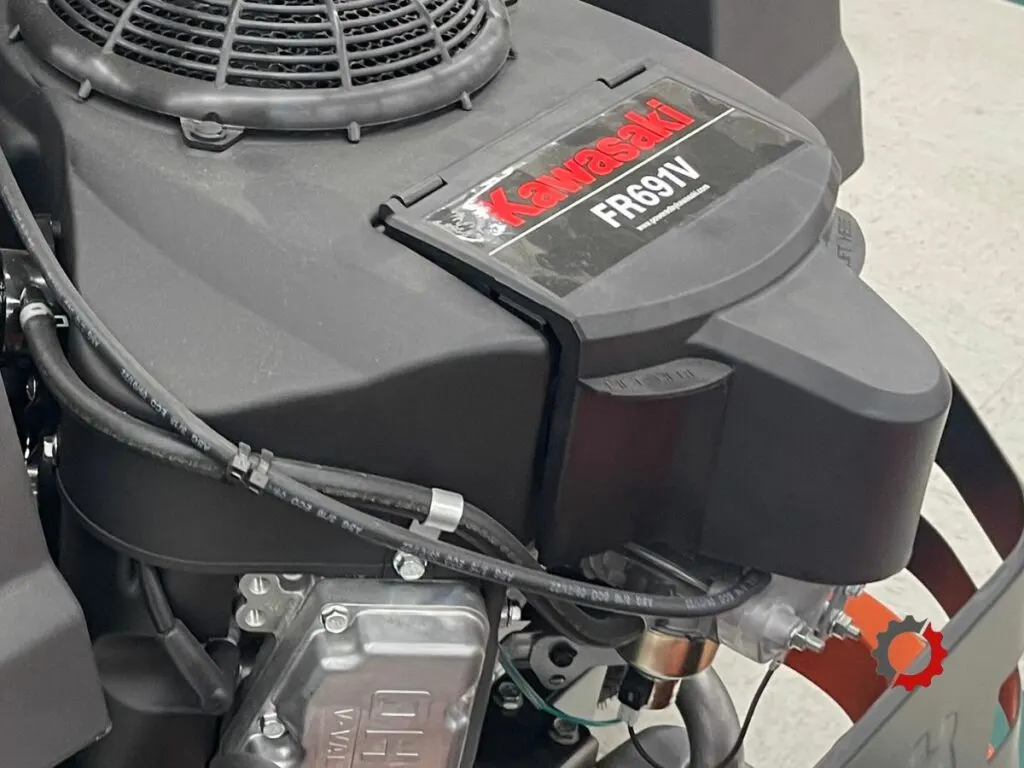
I’ll share the steps to clean a Kawasaki carburetor below.

Symptoms of a Bad Kawasaki Carburetor
When your carburetor is acting up, it is no longer able to correctly regulate the fuel-to-air mixture required by your Kawasaki engine. You could experience these symptoms:
- Kawasaki engine won’t start
- Kawasaki engine backfires from running lean
- Kawasaki engine sputters and runs rough
- Kawasaki engine surges
- Kawasaki engine consumes too much fuel and smokes
This post may include affiliate links. Purchases made through these links may provide a commission for us, at no extra cost to you. As an Amazon Associate, we earn from qualifying purchases.
Follow all safety instructions provided in your equipment operator’s manual before diagnosing, repairing, or operating. Consult a professional if you don’t have the skills, or knowledge or are not in the condition to perform the repair safely.
12 Steps to Clean a Kawasaki Carburetor
If you have a fuel system problem and have confirmed you are getting a good supply of fuel to the carburetor, perform one more step to confirm you need to disassemble and clean your carburetor.
Remove the air filter from the air filter housing. Spray carburetor cleaner into the air intake and start your Kawasaki engine. If it starts, runs, and then dies, you should disassemble your carburetor and clean it.
1. Gather Items Needed
- Pliers
- Screwdriver
- Socket/ratchet set
- Carburetor Cleaner
- Thick wire
- Needle nose pliers
2. Take Photos
I recommend taking photos through the disassembling and cleaning process to help with reassembling correctly. Taking photos is easy as most people have a cell phone with a camera.
Even if you have a great memory, I highly recommend you take multiple photos of your carburetor before and during the tear-down process.
You will be working with many small parts. It will be good to have photos to reference to make sure you put your carburetor back together the correct way.
You’re better off taking these photos and not needing them over not having photos at all.
3. Shut off the Fuel Supply
Stop the fuel flow to the Kawasaki carburetor. Use the fuel shut-off valve located on the bottom of your fuel tank. If you don’t have a valve on your mower, crimp the fuel line.
4. Remove the Throttle & Choke Cables
Detach the throttle and choke cables from your carburetor.
5. Remove the Air Filter Housing
Remove the hardware that attaches the carburetor to the air filter housing so it is detached.
6. Remove the Springs from the Carburetor
Slowly remove the springs from the carburetor. Do not stretch the springs or you’ll have to replace them. You may have to twist the carburetor a bit to get the springs to come off the carb.
Be careful not to rip the gasket between the engine block and the carburetor or you will have to replace it with a new gasket.
7. Remove the Carburetor Bowl
Now locate the bowl on the bottom of your carburetor. This is the place a small amount of fuel is collected once it leaves the fuel tank. Have a rag available to soak up any remaining fuel in the bowl.
Remove the screw located at the bottom of the bowl and lower the bowl to remove it from the Kawasaki carburetor. You will find a gasket located around the bowl. It looks like a rubber band.
Do not get any carburetor cleaner or other substance on the gasket as it will ruin it. If you do, the gasket must be replaced before the bowl is reattached.
8. Check for Clogged Holes in the Stem
You will find a stem that hangs down in the center of your Kawasaki carburetor. The holes in the stem can become clogged with the gumming of old fuel. With a flashlight to better see the holes, use a thick wire to unclog them.
9. Remove White Crusty Buildup and Gummy Deposits
Check the other component in your carburetor along with the carburetor itself for additional gumming and a white crusty buildup.
Remove the gummy deposits along with as much of the crusty material as possible using a carburetor cleaner. Note: It is almost impossible to remove all the crusty material.
10. Reassemble the Carburetor
Once you have finished cleaning the Kawasaki carburetor and ensured all the components are in good working order including your float needle and float, go ahead and reassemble the carburetor.
Reverse the steps you went through when you removed your carburetor. Use the photos you took earlier for reference.
11. Add Fresh Fuel & Allow It to Fill the Fuel Bowl
Make sure you aren’t running old fuel or you may soon run into the same problems with your carburetor. Use the fresh fuel and allow your fuel bowl to fill with fuel.
Replace or Rebuild Your Kawasaki Carburetor When Cleaning is Unsuccessful
Sometimes cleaning your carburetor doesn’t make it carburetor function correctly. You may have small components in your carburetor that must be replaced or old fuel has caused so much damage you need to replace the carburetor.
Rebuild or replace your carburetor. You will need to have your Kawasaki engine model and spec available to ensure you order the correct part(s).
You can order a replacement carburetor or rebuild kit online at your local Kawasaki small engine dealership, or your local equipment dealership.
Fill Your Kawasaki Fuel Tank with Fresh Gas and a Fuel Additive
Run a good supply of fresh gasoline through your gas-powered equipment. Don’t let it sit in the equipment for long periods of time. Use a fuel additive to stabilize like Sea Foam Motor Treatment in your fuel to minimize future fuel issues.
Read more about using Sea Foam as a fuel stabilizer and why it is what I use in my lawn mower.