
You were able to get your generator started, but for some reason, it just won’t stay running. There are many reasons why this may happen. Keep reading and I’ll go through them.
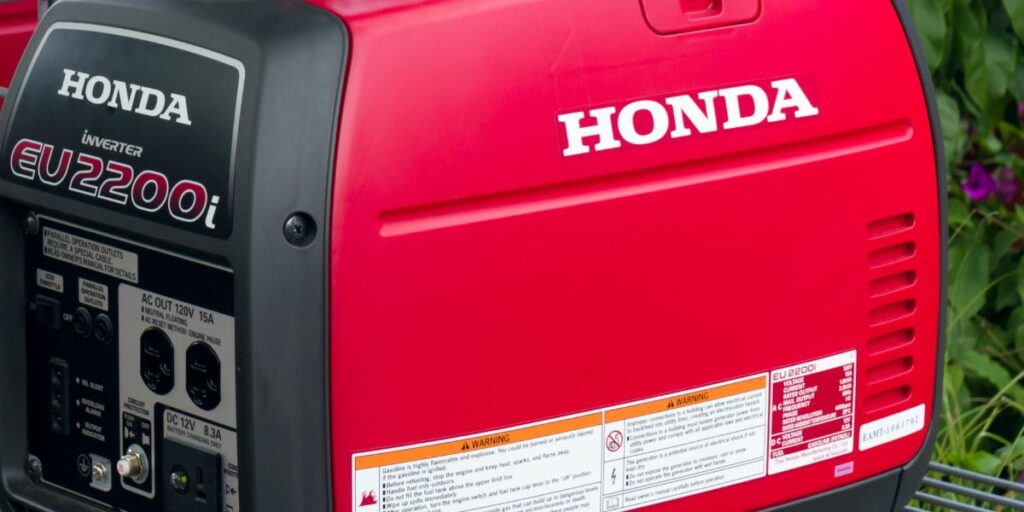
A Honda generator won’t stay running when it is overloaded; is low on engine oil; has a plugged spark arrestor, or isn’t getting sufficient air, fuel, and spark.
This may be due to a plugged air filter, plugged fuel filter, clogged fuel line, dirty carburetor, dirty spark plug, insufficient oil level, or trying to power more items than the load limit can handle.
Always follow the safety precautions provided in the Honda operator’s manual. This includes removing the spark plug wire and waiting for the engine to cool before performing repairs.

This post may include affiliate links. Purchases made through these links may provide a commission for us, at no extra cost to you. As an Amazon Associate, we earn from qualifying purchases.
Follow all safety instructions provided in your equipment operator’s manual before diagnosing, repairing, or operating. Consult a professional if you don’t have the skills, or knowledge or are not in the condition to perform the repair safely.
6 Reasons a Honda Generator Won’t Stay Running
Too Much Load for the Generator Size
Honda generators vary in the load size they can handle. When you attempt to power more items than the generator’s load limit, it won’t continue to run.
To make sure you don’t plug in too many items, check out the load limit listed on the generator. Then check the wattage requirements of all of the items you are attempting to run at one time.
Add up the wattage requirements of the items you are running at one time. The wattage for the items must add up to less than the generator’s load limit.
Follow these tips to determine the wattage capacity:
- You will find the wattage of most electrical items listed on a tag attached to the item.
- Some motors require additional wattage to start an item. In this case, the starting wattage should be used when calculating wattage requirements.
- Add the wattage of all items that will be plugged into the generator at one time to get a total.
- This total wattage must be less than the generator’s wattage compacity.
Lack of Air
When looking for an air restriction, check that air is able to move through the air intake and is not being restricted by a closed choke or plugged air filter.
Plugged Air Filter
The air filter’s purpose is to keep dirt from begin pulled into the engine. Just a small amount of dirt can cause wearing and permanent engine damage.
When the air filter isn’t regularly cleaned or replaced, it can become plugged with so much dirt that sufficient air isn’t able to pass through the filter.
Remove the filter and inspect its condition. Replace the filter with a new one when the filter is damaged or very dirty. Clean it if it is in overall good condition, but just a little dirty.
Incorrect Choke Setting
The choke is required when starting a cold engine. When the engine warms, the choke lever must be adjusted from the on/closed position to the off/open position to allow more air into the carburetor throat.
If the engine shuts down right after starting, It may be due to an incorrect choke setting or the choke may be stuck in the closed position. Make sure the choke lever is in the correct position.
If the choke lever is correct and you’re running into airflow issues, check the choke to make sure it isn’t stuck in the closed position. Use carburetor cleaner to free up a stuck choke so it opens and closes.
Lack of Fuel
Empty Fuel Tank
This is an obvious reason why a generator will shut down, but sometimes one forgets the last time fuel was added to the tank. It may also be due to a fuel leak or a bad fuel gauge.
Add fresh fuel to the tank. Fix any fuel leaks and replace a bad fuel gauge if you find either of these problems.
Dirty Carburetor
The carburetor regulates the amount of fuel that is mixed with air to form combustion. Over time, old gas can leave a coating that causes the carburetor to stop functioning properly so the engine doesn’t receive the gas it requires to keep running.
When this happens, the carburetor must be removed from the generator and cleaned using carburetor cleaner to remove the crusty buildup left behind by old fuel. I find it best to take photos as I take apart a carburetor so it is reassembled right.
If you don’t want to tackle cleaning the carburetor or you can’t get it cleaned and working again, replace it with a new one.
Using fresh fuel and not letting it sit in your generator for long periods of time can help minimize the negative effects of old fuel on your Honda Generator.
Plugged Fuel Tank Vent
The fuel tank must be able to vent to allow air to move in and out of the fuel tank to equalize the air pressure. When the fuel tank vent becomes plugged, the fuel tank will form a vacuum as fuel is consumed and the air isn’t able to get into the tank.
This vacuum will prevent fuel from getting to the carburetor causing the generator to run sluggishly and shut off.
The fuel tank vent is built into the gas cap on the Honda generator. If the generator shuts down and won’t start until you loosen the cap, you may have a fuel tank vent problem.
Lack of Spark
Bad Spark Plug
A fouled spark plug can cause an intermittent spark that may cause the engine to run sluggishly and die. In addition to a bad spark plug, loose spark plug wires or an incorrect electrode gap can also cause this problem.
Clean a dirty spark plug using a wire brush. However, if you find the spark plug is damaged, worn, or very dark in color, you must replace it with a new spark plug.
Bad Ignition Coil
The ignition coil can separate and short out when the generator gets hot. This will result in the spark plug not being able to create a spark because it isn’t getting the voltage it needs.
First, make sure the spark plug is in good condition. Next, check the continuity using an ohmmeter. Replace it if you find a break in the continuity.
Low Engine Oil Level
Most Honda generators have a sensor that will cause the engine to shut down when the engine oil level is low. This is a safety feature to protect the engine from the damaging effects of running an engine with insufficient oil.
If your generator shuts off and the low oil light is on, first check that the generator is placed on a flat-level surface. Setting the generator on uneven ground can set off the sensor.
Once you have verified the generator is positioned correctly, check the engine oil level using the oil dipstick attached to the oil cap.
Remove the oil cap. Wipe off the dipstick with a clean cloth. Replace the dipstick and cap and remove it to read the oil level on the dipstick. (Don’t screw the cap back on when you are taking an oil level reading).
When you find the level is too low, add oil until it is at the correct level according to the dipstick.
If you find you have the correct engine oil level and the low oil sensor light stays on, you may have a faulty sensor. Contact your local Honda generator dealer to support.
Plugged Spark Arrestor
You will find a small spark arrestor screen on the muffler that prevents hot exhaust material from blowing out of the exhaust. This screen is required to reduce burns and prevent fires.
When the hot air from the engine isn’t able to exhaust because of a plugged spark arrestor screen, it will bog down and may shut off.
Remove the spark arrestor screen and clean it using a solvent or a small metal brush. If you find it has a hole in it or is damaged, it must be replaced with a new screen.